Showing posts with label Thanksgiving. Show all posts

Saturday, November 22, 2014

It's Turkey Time

     I am so happy to say that I am officially on break from school for 10 whole days!  Other than studying for a test we have when we go back, I plan on doing nothing school-related for a week.  That is, until I realize that I'll still have to pass boards before too long, hyperventilate, and start studying extra for the NCLEX.  Until that happens, though, my focus will be on many other things but school.  After today, Monkey will also be on break, so I have been planing a few projects to keep us both busy over the holiday.     We will be learning all about water and it's various properties.  Today we started with a project about why things sink or float.

    I started out by expelling to Monkey that to float means to stay on top of the water, and that to sink means to fall to the bottom of the water.  Then we pulled out a book that's been around since before I was born.  In fact, it was a hand-me-down from when I was a kid.  It's called "Why Does it Float?", and in spite of it's age, it explains displacement and buoyancy in a way that kids can understand.  I found a copy of it on Amazon for only a penny, if anyone is interested.

     Next I had Monkey run around the house to find items she wanted to experiment with.  Then she grouped them into the ones she thought would float versus those she thought would sink.  She got several miniature plastic toys, a leaf, and a cork.

 
    Next, I had her drop each item one-by-one into a bowl of water.  We used a glass bowl so she could see the bottom of the water.


     Next, I had her find differences between the items that floated versus those that sank.  She determined that heavy objects sink, and light object float.  We then tested a few more items, and she had to rethink her hypothesis when a pair of tiny Barbie shoes sank.  That's when we referred back to the book about buoyancy and displacement and determined that the Barbie shoes didn't have enough room in them for air in order to float.

"Weighing" floaters vs sinkers
     Finally, I had her record her findings in a journal.  And as a way to lead into the next set of experiments about freezing and melting, we put our bowl of water into the freezer to see which items will freeze on top, and which will freeze on the bottom.  Monkey also drew her hypothesis for that project.  Tomorrow we'll find out if her hypothesis was correct!

 
     Before she was out of school, I was getting Monkey ready for Thanksgiving by packing her a few festive lunches I'd like to share.  Let's start simple, shall we?


Turkey Sandwich...Literally


     This little guy was super easy to throw together.  He's a turkey sandwich that I cut into a circle.  For feathers I used pretzel sticks and bits of sliced carrots.  I cute out a little bowling-pinned-shaped body for the turkey, and I made a face using my food markers.

Turkey Taco
      This was another simple creation using a tortilla filled with turkey, lettuce, and cheese.  I folded it in half, quesidilla-style, and I drew a turkey using my food markers again.  I added some sides, including yogurt raisins, broccoli, and a "pumpkin" made from a bit of celery and a Halo orange.

Egg-cellent Pilgrims and Indians
      These little guys took a bit more work, but they were fun.  I started with two boiled eggs, cut in half.  I sprinkled a bit of paprika on two of the eggs (these would be my "indians").  Next, using sheets of Nori, I cut out the shape of eyes, noses, and mouths, and arranged them on the yolks.  Then I cut out the hats for the pilgrims, and the headbands for the indians.  Finally I added a "feather" for each indian's headband using a bit of celery leaf.  Then I cut the buckle of the pilgrims' hats out of ham.

Turkey Lunchables


     I decided to spruce up our usual DIY lunchables by making the crackers into a tiny turkey.  I cut out another body from ham, and this time I cut eyes, a beak, and a waddle from a sheet of Nori.  I then arrange some cut up carrots to resemble feathers.  I put the extra ham, cheese and crackers in another container for Monkey to assemble her own.

     Needless to say, I've had a lot of time getting ready for the week off, and I'm looking forward to all the fun I have planned for Monkey, J, and I.  Of course, I'm also looking forward to the whole no school thing.  Needless to say, I'm thankful it's turkey time :-)

Thursday, November 21, 2013

10 Thanksgiving Crafts

     Since my 31 Crafts of Halloween did so well, I think I'll make another list of Ten Turkey Day Crafts.

1. Thankful Tree---Using brown constriction paper, cut out the tree.  Cut leaves out in red, orange and yellow.  Tape the tree to your wall, and everyday have your little one write (or say) something they're thankful for on a leaf and tape the leaf to the tree.


     I've seen these on Pinterest a few times, so last year they became a part of our Thanksgiving tradition.  I think it's a great way to make your child consider all that they have to be grateful for, and I think it's fun and sometimes surprising to hear what Monkey comes up with.

2.  Thanksgiving Puzzle--- I did this one with my daughter anther two friends one night last year when I was babysitting, and they seemed to enjoy it.  Click this link to print out the puzzle.  Have your little one color it, and then cut out the puzzle pieces, and have them assemble it.  To make the pieces more sturdy glue them to card stock or construction paper before cutting them out.


3.  Hand Turkey--- Have your child trace his/her hand on brown, red, orange, and yellow construction paper (you'll need 2 hands in each color).  Cut out.  Trace and cut out a bowling-pin shape from brown construction paper for the turkey's body.  Have your little one glue the brown hands to the front of the turkey, and the red, orange, and yellow hands to the back of the turkey to make feathers.  Create a face using googly eyes, orange constructions paper for the beak, and red construction paper for the gobble.  Add a couple of orange feet, and voila!


4.  Leaf Turkey---  For this craft, take your little one on a nature hike, and have him/her collect a variety of leaves.  When you get home, cut out one large circle and one small circle from brown construction paper.  Cut out a beak and feet from orange construction paper.  Have your little one assemble the turkey by glueing the leaves to the back of the large brown circle.  Glue the body and feathers onto another sheet of construction paper, and add the small circle for the head.  Add googly eyes (or eye), beak, and feet.


5. Turkey Game---  This fun game can be found here.  It's a free printable, and Monkey loved it. Every number you roll determines which part of the turkey you draw.  The first one to finish his/her turkey wins!


She won!


6. Pinecone Turkey--- This one requires another nature hike to find pinecones (unless you're like me and have many pine trees dropping needles and cones into your back yard).  Once you've found some good ones, bring them home and cut out orange, red, and yellow "feathers" to glue to the back of them.  You'll also need two small orange triangles to form the beak.  Cut out two small circles (in any color) for the eyes.  Have your little ones assemble them with some glue, and you're all set.

I love our slightly drunk-looking turkeys.  Also, they remind me of the penguins on Madagascar.
Tired of turkey?  Well here you go:

7. Scarecrow--- For this one you'll need a paper plate and yellow, red, pink, orange, and blue construction paper.  Cut out two small blue circles for eyes.  Cut out two medium-sized pink circles for cheeks.  Cut out an orange triangle for the nose.  Cut out "straw" from the yellow to go under the hat.  Also trace your child's hand twice onto the yellow, and cut those out for the "straw" under the face.  Cut out a hat from the red.  Help your little one assemble the scarecrow as seen below.  Don't forget to draw the smile.


Since we're taking a turkey break, try out this cutesy craft next:

8.  The Mayflower---  This craft is a good way to start a conversation about the history behind Thanksgiving.  (That's right; it's isn't all about the turkey.)

This one is from two years ago.  Monkey's hands were so small :-(

Have your little one dip their hand in black paint and press it onto a sheet of light blue constructions paper.  Once the handprint dries have them add the little details like the waves and sails.

9.  Pipe-cleaner Turkey---  So, it may not all be about the turkey, but considering that it's a big part of most people's Thanksgiving, here's another cute turkey craft.


If you buy the Natural Fuzzy Sticks craft pack at Wal-Mart, the instructions for this turkey is on the back, but here they are anyway:

You'll need:
3 light brown pipe cleaners
2 dark brown pipe cleaners
2 green pipe cleaners
2-3 red pipe cleaners
2 googly eyes
1 triangle cut out of orange construction paper
Glue and scissors

To form the turkey's body, take one light brown pipe cleaner and tightly coil it so that it forms a large circle.  To form the head, coil another light brown pipe cleaner in the same way.  When you have 1/4 of the pipe cleaner left, wrap it around a portion of the body to form a neck. Glue the googly eyes and triangle to the head.  Cut a small piece off of one of the red pipe cleaners, and attach it to the face, under the triangle beak.  To form the first feather, attach a green pipe cleaner by wrapping one end around the side of the body, form a U with the green before wrapping the second end around the body.  Do the same with the remaining pipe cleaners for form all the feathers.  Cut the remaining dark brown pipe cleaner in quarters.  Attach one quarter to the bottom of the body, and bend part of the end to form one toe.  Repeat  with another quarter to form another foot.  Use the remaining quarters to cut out and attach two more toes on each foot. 

Need something less time consuming? Try this:

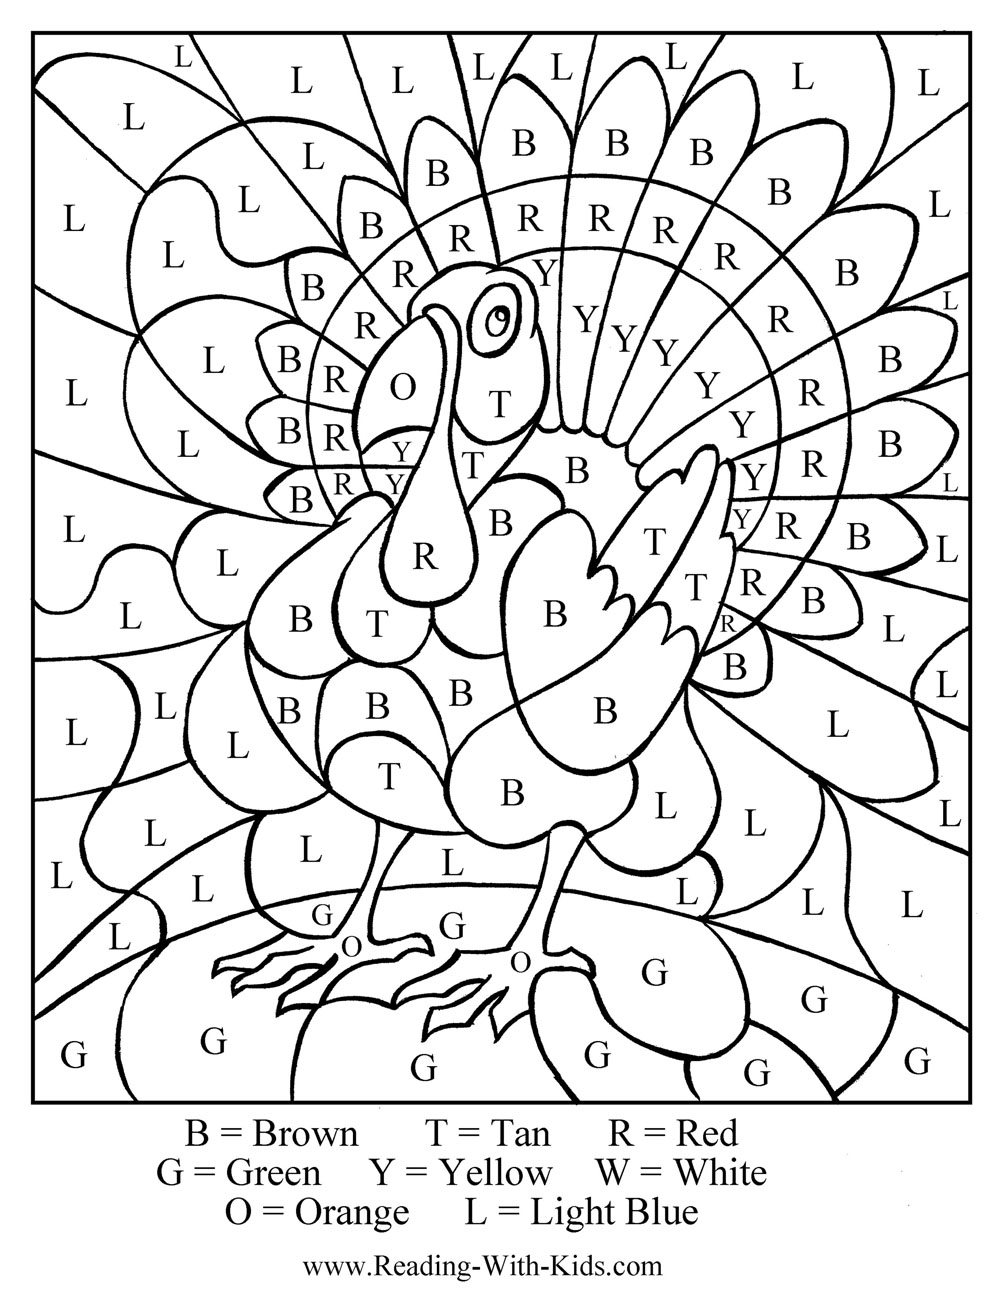
10. Turkey Color-by-letter--- Simply click this link, print out the turkey, and have your little one color it in.  No fuss, no mess, no problem :-)


Monday, November 5, 2012

I'm Thankful for Bacon

   On the way to school this morning Monkey was reciting her numbers for me, and I was enjoying listening to her prattle along.  Then something caught my attention.

Monkey:  "11, 12, 13, 15, 16, 17..."

Me:  "Wait a second, what happened to 14?"

Monkey:  "He got stuck in the mud."

Me: .....

   I swear that child doesn't miss a beat.  She never passes up an opportunity to make me laugh.  She's pretty witty, and I'm so thankful to have her in my life.

   Speaking of being thankful, it is November, and I've notice quite a few people doing a daily "I'm thankful for..." status update of Facebook.  That gave me a cute idea.  Instead of a daily Facebook status, Monkey and I are doing a thankful tree.  Everyday we write one thing Monkey is thankful for on a leaf, and she adds it to the tree.  We'll keep this up until Thanksgiving when I'll post a picture of the finished product.  Here's a preview, though:


     I think we're off to a good start :-)  I also have an amazing recipe to share tonight for Honey Mustard Chicken.  Before I get to the recipe, let me just say, I had a go-to recipe for this dish.  Had.  This one is better, so that other one has officially been replaced.  Here it is:


Honey Mustard Mozzarella Chicken
4 skinless, boneless chicken breast halves
3/4 cup honey
1/2 cup mustard (I ran out of regular mustard, so I mixed 1/4 cup Dijon with 1/4 regular; it was perfect)
lemon pepper to taste
4 slices of bacon, cut in half
1 cup shredded mozzarella cheese

Preheat oven to 375.  Place chicken breasts in 2-qrt baking dish.  Cover with mustard and honey.  Sprinkle with lemon pepper.  Bake for 25 minutes.  Add two bacon slices to each chicken breast.  Cover with mozzarella.  Return to oven and bake 10 more minutes, or until bacon is crispy and cheese is bubbly.  Enjoy!
   

     Well this is going to be a short post, because my child is jumping on my back as I type, hollering, "Pony! Pony!"  Y'all have a good night :-)

Update:  As promised, here's Monkey's finished tree: